Popcorn Ceiling Removal
How to Smooth a Stipple Ceiling
Getting rid of the popcorn ceiling look can be done in a few different ways. Find out more below.
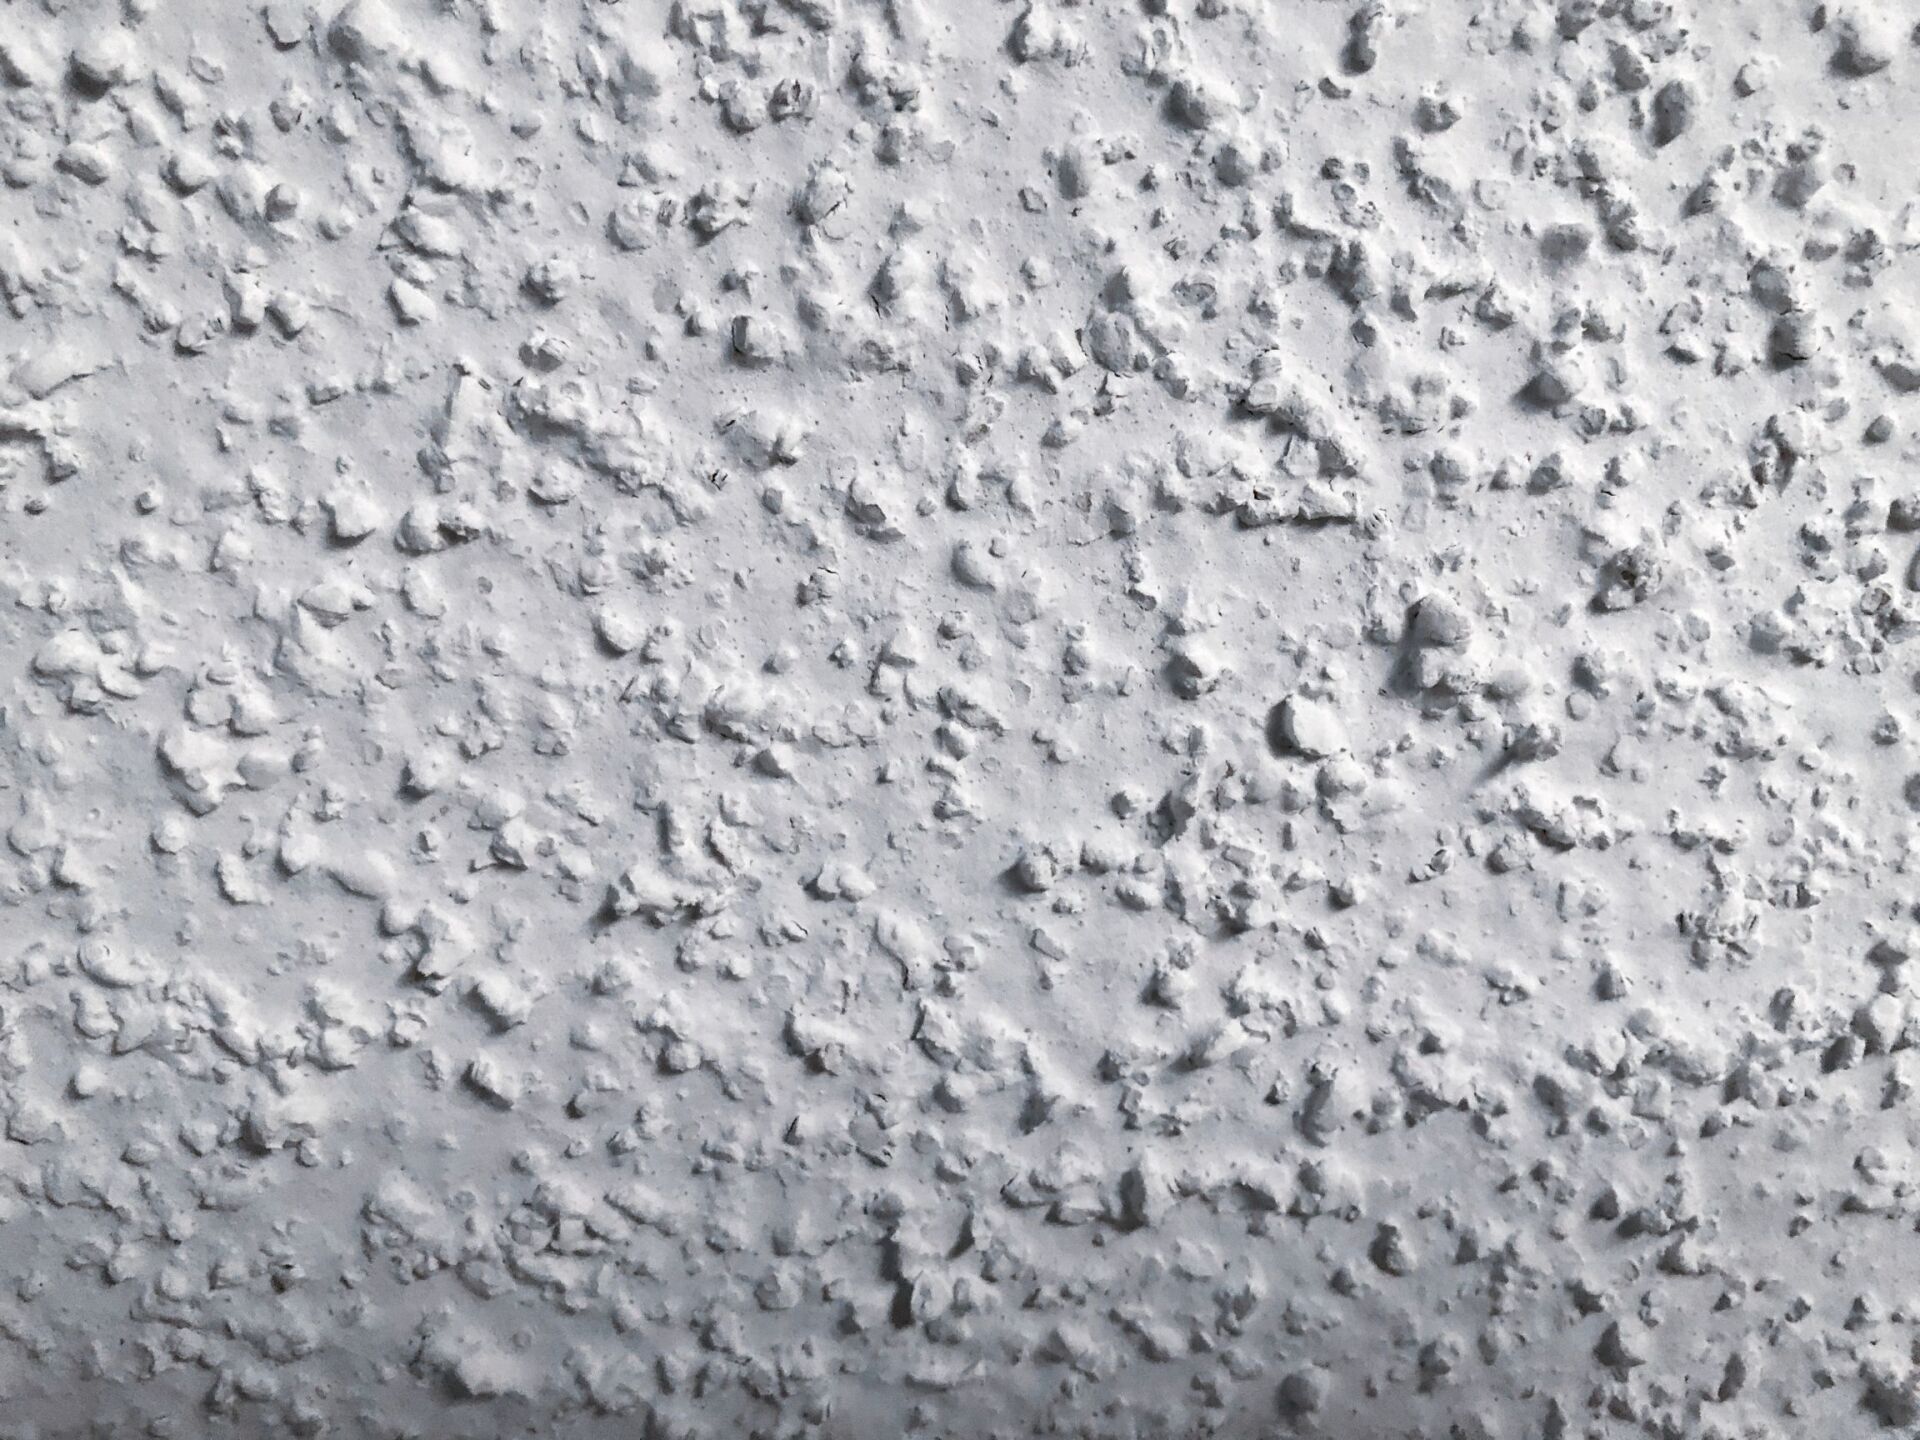
If you’re tired of the popcorn ceiling look in your home, there are a few things you can do. We recommend removing it altogether as it gives you the most control over the look and feel of the home. But you can also smooth it out using drywall compound, or cover it with sheets of drywall. No matter what you choose to do, you will end up with the smooth texture you’re looking for. Below we’ll talk about the processes of smoothing out a popcorn ceiling.
Remove Stipple Ceiling
The first, and most recommended approach is to
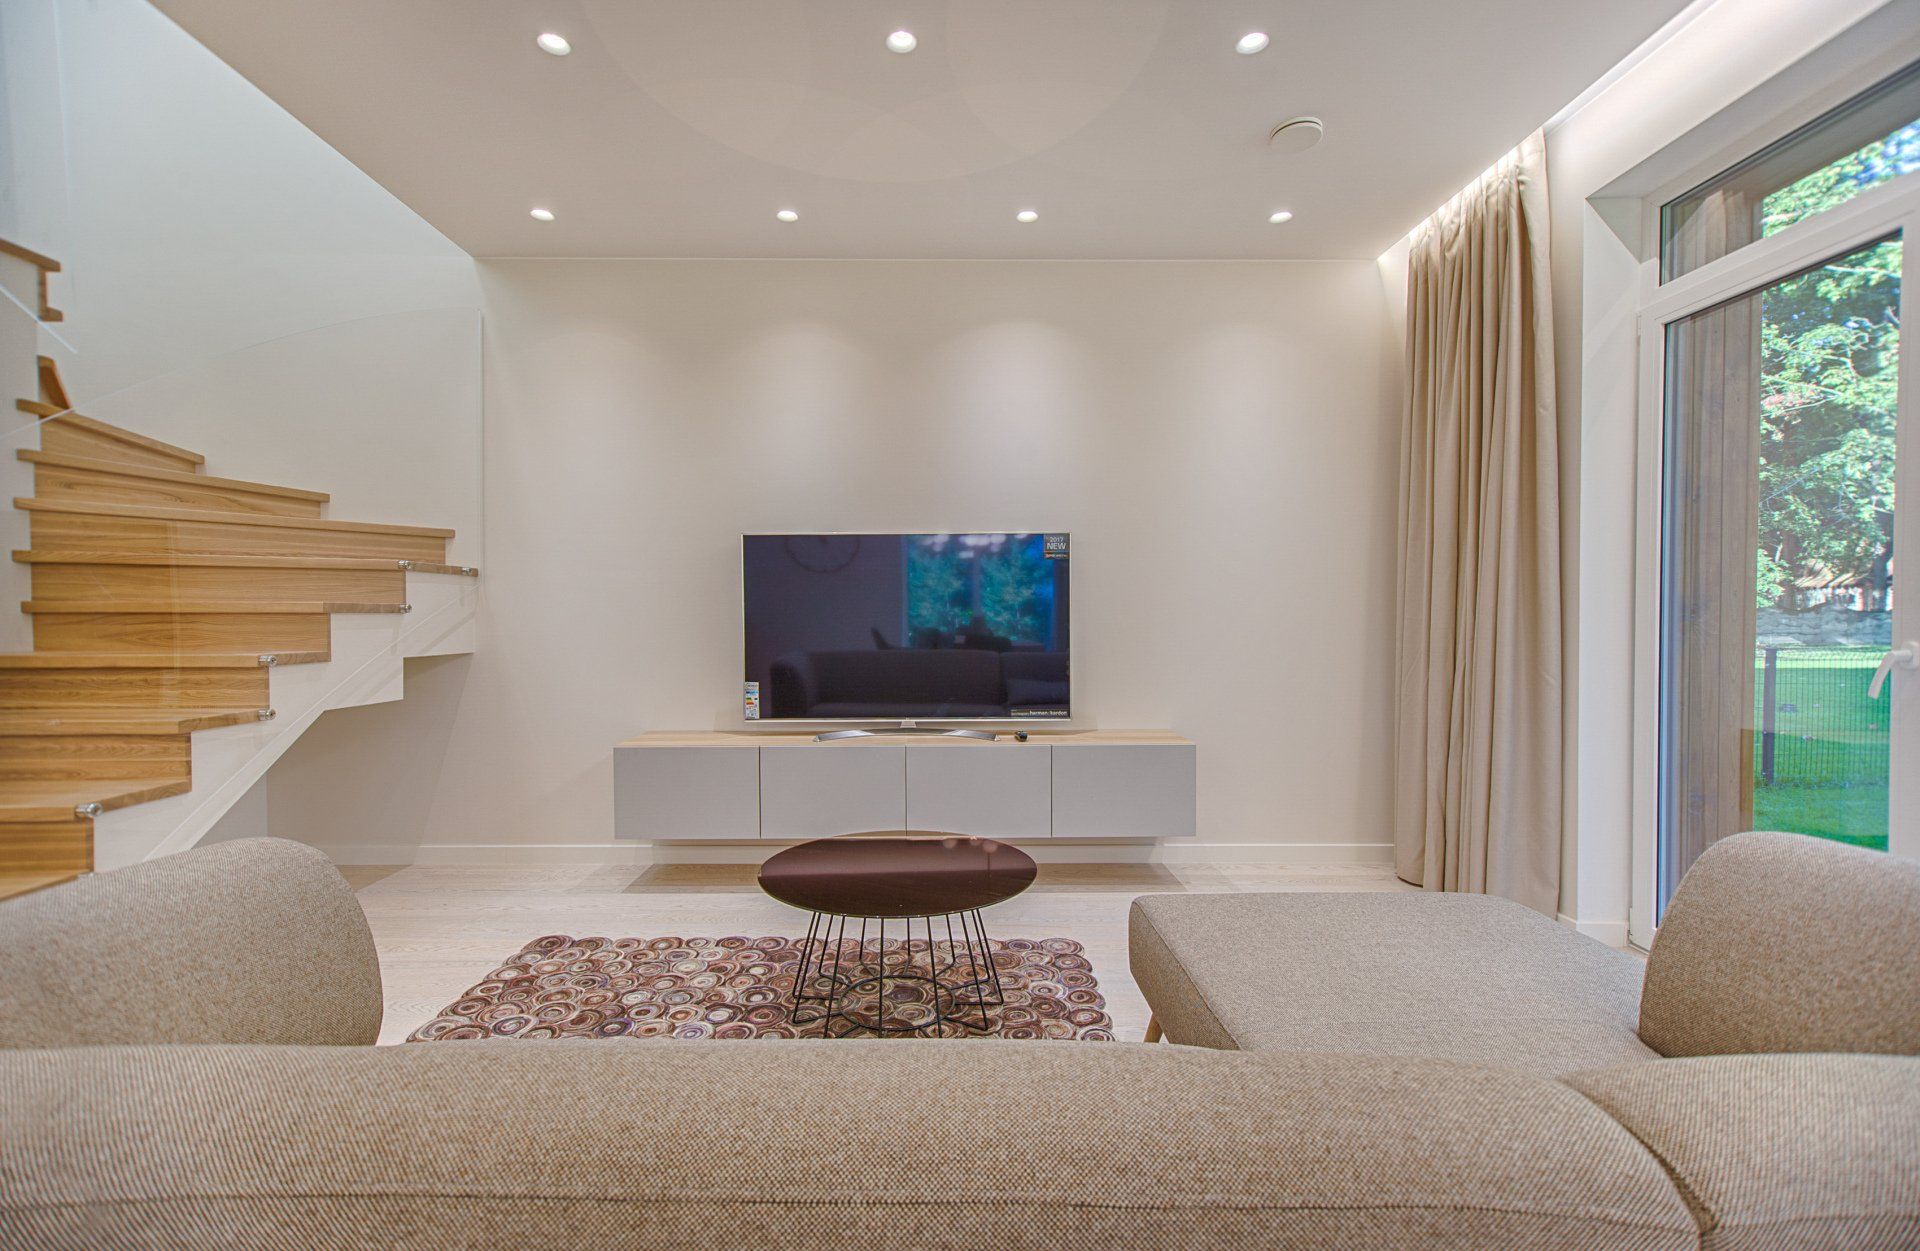
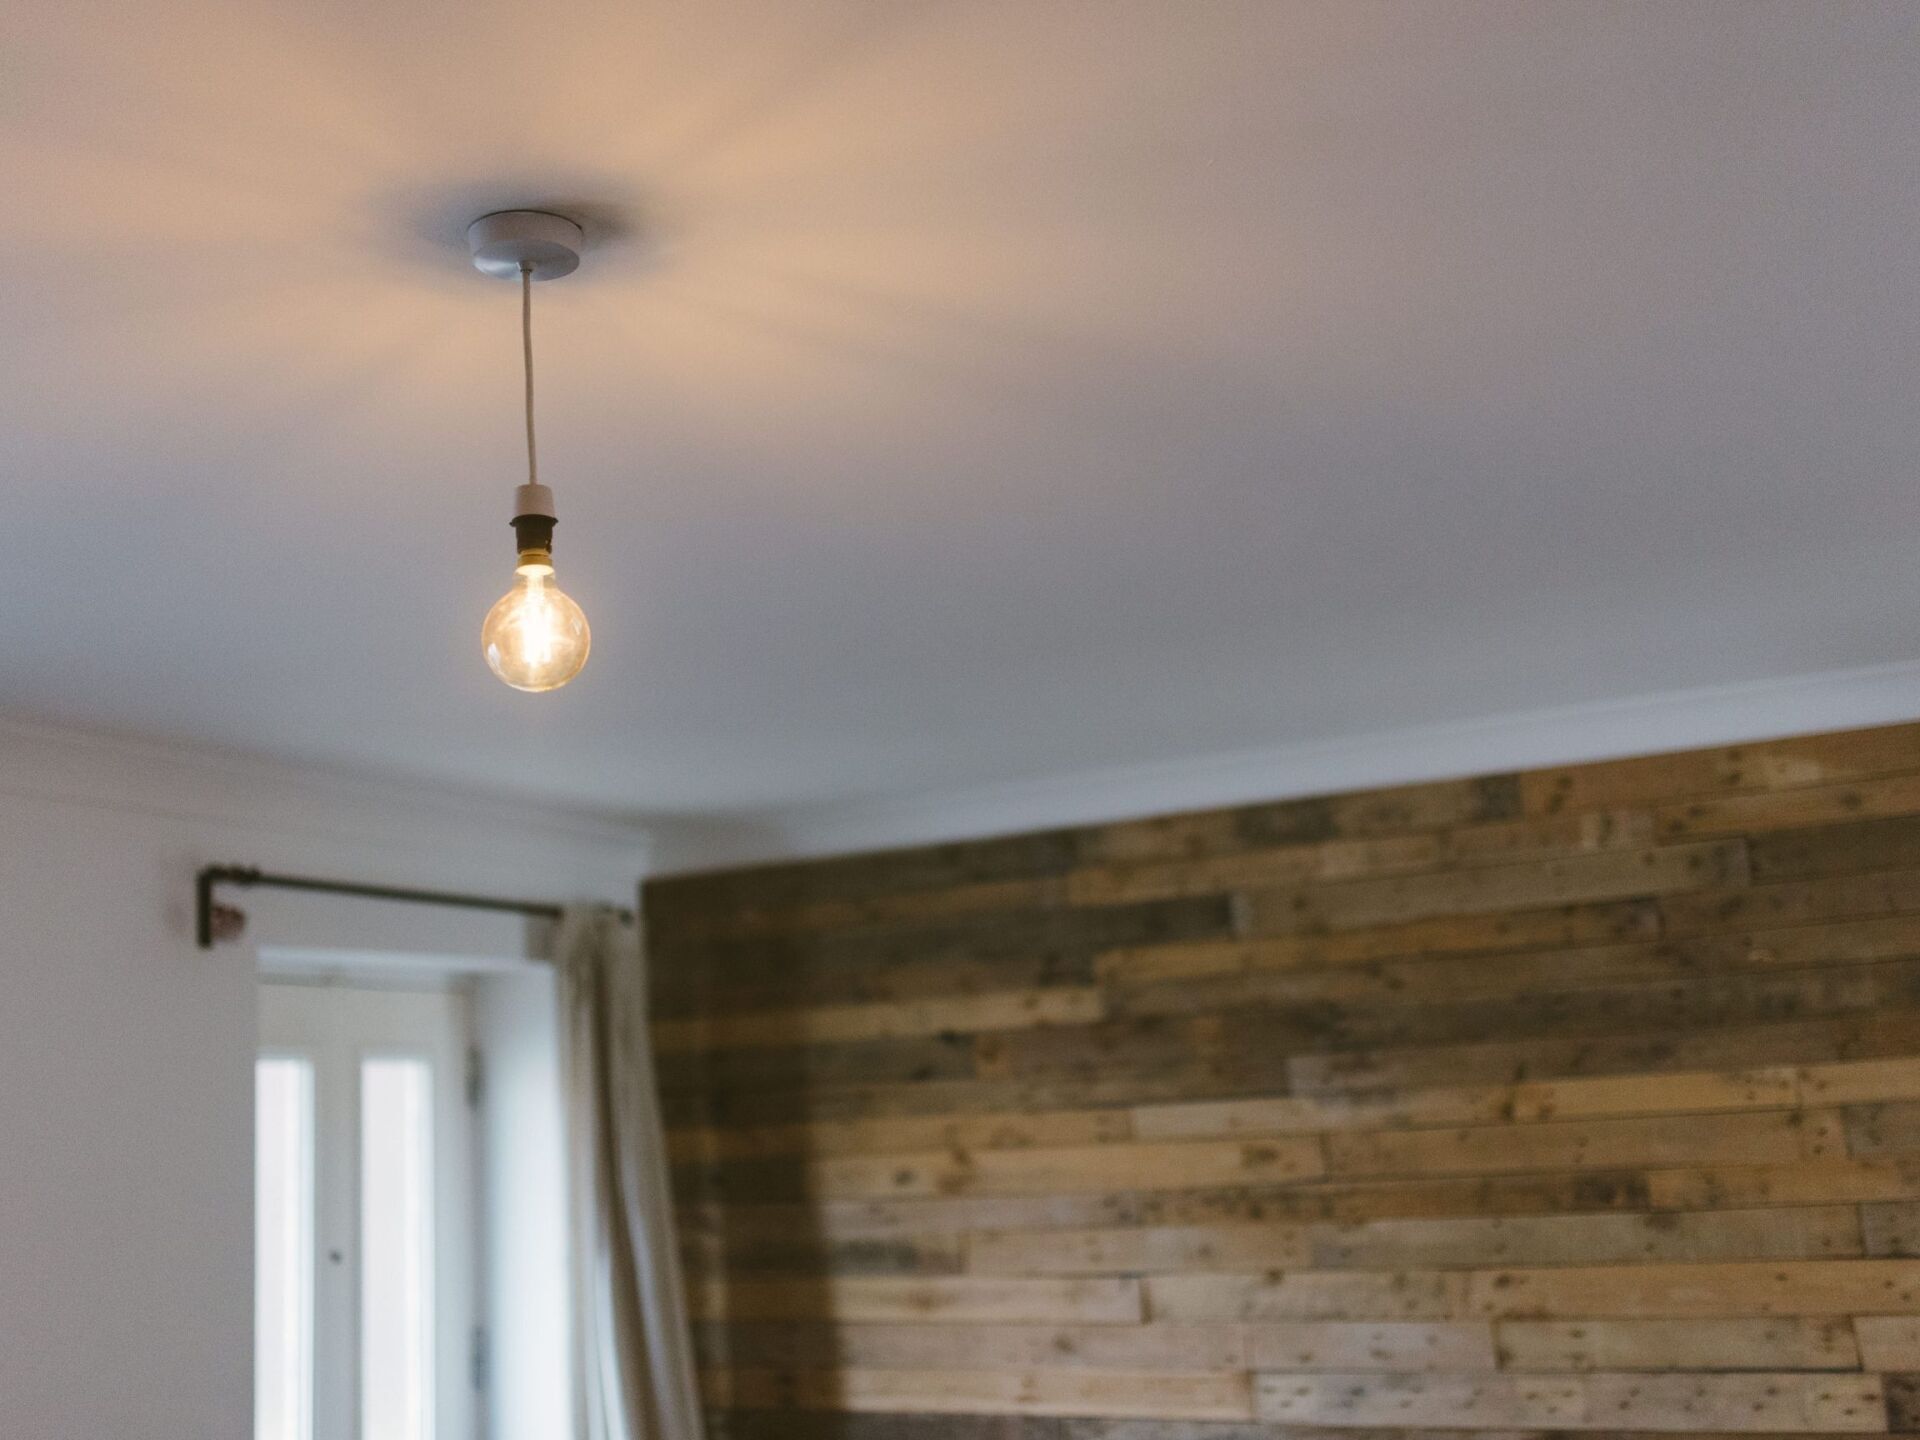
remove the stipple ceiling completely. This will get rid of the texture and will be the quickest route to having the smooth landscape you’re looking for. Then you can decide what type of design you want to come up with, whether it’s a smooth look with pot lights, decorative trimming, or a drop ceiling with bulkheads.
We are experts at removing popcorn ceilings quickly and safely and if you want to get a quote, contact us today.
Cover The Ceiling With Drywall
If you’d like to smooth the ceiling a different way, we can also cover up the textured look with new sheets of drywall. This method doesn’t require any removal of the popcorn type stipples and will give you the finish that you want via drywall and taping.
You start by finding the studs and drilling drywall sheets across the entire ceiling surface. Once you’ve got the drywall in place, you can mud and tape the ceiling the way you would with a typical ceiling or walls. Once it is taped and sanded down to a smooth finish, you can prime and paint it.
One of the drawbacks of drywalling over a stipple ceiling is that you will then have a lower ceiling by a few inches than before. Plus if you ever want to do any renovations in those rooms again, you will still have the material left behind with the stipple as well as the new drywall.
Skim Coat with Drywall Compound
Another way you can smooth over a stipple ceiling is to skim the entire surface with drywall compound. This method is one of the more time consuming choices to make, and it takes a steady hand, but can produce the result you want.
You can mix a large bucket of compound (you’ll need a lot) and begin coating over the surface of the ceiling with a relatively tick coat. You’ll want to cover almost every piece of stipple on the first run without making it so thick that excessive amounts will fall onto the floor and create a mess.
Once the first coat is in place, you’ll need to wait for it to dry completely so that you can put on the second and third coats. It usually takes at least a day for the first coat to dry as it is so thick. Once you’ve gone over the entire surface of the ceiling three times, or until it’s completely covered, you will have a smooth surface. Along the way, if you want to, you can always create a new textured design will the compound is wet. Although you may want to plan this particular step out in advance.
Conclusion
Now you know the few ways you can cover and smooth a stipple ceiling. As previously mentioned, we recommend removing it altogether as it is the easiest and quickest way to have your ceiling modernized and looking great. If you want more information about our services, give us a call for a free quote today.
You might also like
Stipple Ceiling Blog